Find Your Inspiration, Embrace the Challenge.

The Art of the Perfect Campfire: A Guide to Mastering the Flame
ADVENTURE
Mark Fenech
2/19/20253 min read
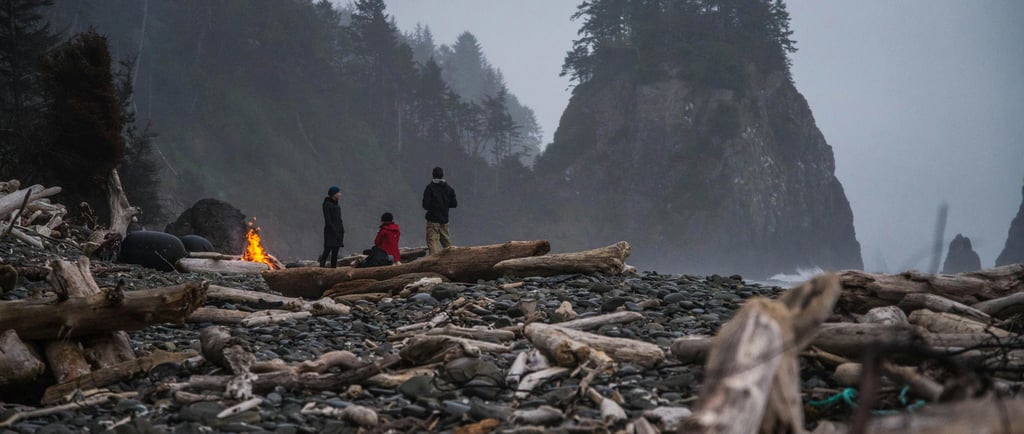
There’s nothing more primal, more satisfying, than building a solid campfire with your own hands. It’s a skill everyone should have—whether you’re deep in the woods, kicking back at a campsite, or just showing off your fire-building chops to friends. A good fire isn’t just about tossing logs together and lighting a match—it’s about precision, patience, and knowing how to work with the elements.
If you want a fire that burns strong and lasts all night, follow these steps and build it like a pro.
Step 1: Pick the Perfect Spot
First things first—location matters. You want a fire that’s safe, efficient, and well-placed.
• If there’s a fire ring, use it. If not, find a clear, flat area at least 15 feet away from trees, bushes, or anything that could catch fire.
• Clear away leaves, grass, and debris. You don’t want any surprises.
• If needed, make a ring of rocks to help contain the fire.
Step 2: Gather the Right Materials
A fire needs fuel, and not just any wood will do. You need the right combination of materials to keep it going strong.
• Tinder – Small, dry, highly flammable stuff like dried grass, pine needles, birch bark, or wood shavings. This is what catches first.
• Kindling – Small sticks, about the size of a pencil, that burn hot and get the real fire going.
• Fuelwood – The big logs that sustain the fire. Dry, seasoned wood is best—wet or green wood will just smoke and waste your effort.
Step 3: Build It Right
How you stack your fire makes all the difference. Pick a method based on your needs:
The Teepee Fire – Quick and Hot
• Place your tinder in the center.
• Arrange kindling in a cone shape over the tinder.
• Lean your fuelwood around it, also in a cone.
• Light the base, and let it roar.
The Log Cabin Fire – Long-Lasting and Sturdy
• Lay two large logs parallel with space in between.
• Stack two more logs on top, perpendicular to the first layer, forming a square.
• Keep stacking, getting smaller toward the top, and place tinder and kindling in the center.
• This burns slow and steady—great for all-night fires.
The Lean-To Fire – Best for Windy Conditions
• Place a thick log as a windbreak.
• Lean kindling against it at an angle to form a partial tent.
• Place tinder underneath, light it up, and add fuelwood as it grows.
Step 4: Light It Up
Now for the fun part—get that fire started. Use a match, lighter, or (if you’re feeling rugged) a fire starter. Light the tinder from multiple points, and if needed, gently blow at the base to feed oxygen to the flames.
Step 5: Keep It Going Strong
• Once your kindling is burning well, add fuelwood gradually. Don’t suffocate the flames—leave space for airflow.
• Adjust your logs to keep the fire balanced and burning evenly.
• Want more heat? Stack the logs closer together. Need a longer burn? Space them out.
Step 6: Put It Out the Right Way
A real outdoorsman leaves no trace. When it’s time to wrap up:
• Let the fire burn down to embers.
• Pour water over it—don’t just sprinkle, soak it.
• Stir the ashes with a stick and pour more water if needed.
• Feel the area with the back of your hand—if it’s warm, keep dousing.
Final Thoughts
A campfire isn’t just about warmth—it’s about skill, patience, and a connection to something primal. Whether you’re cooking up a feast, swapping stories, or just enjoying the crackle of burning wood, knowing how to build a proper fire is a skill that sets you apart.
Now get out there, build it right, and get lit.
Mark
The Wise Wayfarer
A Curated Collective
© 2024-2025 Fen's Finds. All rights reserved.
Fen’s Finds earns from qualifying purchases as an Amazon Associate